
Retroid Pocket Duo quick start: from Android to your first game
Set up your Pocket Duo, organise game files, choose a DS or 3DS emulator, check both screens and save a working setup before adding extras.
In this guide
Start with one game that launches, responds to the controls and saves correctly. Once that works, you have a reference setup to return to when you try a different driver, emulator or frontend.
This guide covers the regular Pocket Duo, which Retroid lists with Android 16 and an Adreno 722 GPU. The Duo Lite is a different device, so its setup and performance reports may not match yours. Check the manufacturer’s specifications before choosing hardware-specific downloads.
A few terms before you start
- Android app: a program installed on the handheld, such as an emulator or a frontend.
- Emulator: an app that imitates another console so it can run a game made for that console.
- Game file: a digital copy of a game that the emulator opens. Guides may call this a ROM, disc image or game dump, depending on the original system. The Duo doesn’t include commercial game files; use content you’re entitled to use.
- Frontend: an optional library screen that organises games and launches the emulator. It doesn’t run the game itself.
- APK: an Android app installer, similar to an installer package on a computer. Only download one from the app developer or another source you’ve deliberately chosen.
- BIOS or firmware file: system software some emulators require to imitate a console. It’s separate from the emulator and game file; follow the emulator’s documentation and use a copy you’re entitled to use.
You don’t need to learn every term or install every tool at once. The safest first milestone is one emulator, one game file, working controls and a save you can reopen. To see where the compatibility information on this site comes from, read how these guides assess compatibility.
Finish Android setup and create your folders
Connect to Wi-Fi, set your time zone and check Android’s system-update settings. If an update is offered, let it finish before configuring your emulators, so you’re testing against a settled system version.
The regular Pocket Duo has 128 GB of built-in storage and a TF card slot (TF card means microSD here). Android and your installed apps live in built-in storage, and a microSD card adds removable space for files such as game backups, music and frontend artwork. You can begin without one.
The Duo starts Android from built-in storage. Some Linux-first retro handhelds start their operating system from a microSD card instead, so don’t apply instructions for those devices to the Duo. Alternate operating systems are an advanced, model-specific project. The ROCKNIX instructions for some Android devices warn that their process removes Android, so only follow steps like those if the guide supports your exact model and you mean to replace the stock system.
Not sure how much space to buy? Use the microSD size planner to estimate a card size from the systems and game counts you expect to keep. Retroid’s published specifications don’t state a maximum card capacity, so confirm that limit before buying.
For a simple first setup, leave Android, emulators, settings and saves in built-in storage, and put larger game files on a microSD card if you need more room. Android treats a portable card as separate, removable storage, so each app may need you to grant access to its folders. The official Android storage overview explains why one app doesn’t automatically get access to every other app’s private files.
When Android asks whether to use a card as portable storage or adopt it as internal storage, choose portable: the card stays removable and other devices can read it. Adopting a card erases it and encrypts it for that handheld, so it won’t work as an ordinary card in a computer or another device. Android’s storage documentation explains the tradeoff. Back up a card before formatting it, and only choose the internal/adopted option if you specifically want that behaviour.
Create a Games folder on the storage you choose, then a separate folder for each system, such as Games/DS and Games/3DS. Keep a second copy of your files somewhere safe. When an emulator or frontend asks for folder access, choose the matching folder in Android’s file picker. You may need to grant the same card access separately in each app. For frontend-specific library setup, see frontends.
Follow a full video walkthrough
For an English-language companion, Joey’s single- and dual-screen Android setup guide has chapters for general Android settings at 11:27, second-screen settings at 16:34 and Obtainium at 19:27. It covers multiple Android handhelds; its full chapter list is indexed here, with Duo-specific settings and performance review still pending.
Cloud Gaming France’s Pocket Duo setup guide is a French-language, chaptered walkthrough of the regular Duo (the creator points out where the Duo Lite differs). It starts with SD-card folders and Obtainium, then covers several emulator setups. Use the chapters as visual references alongside the written guides.
- Storage and first folders: SD card and ROM folders at 0:51. That’s one way to set up folders; you don’t have to keep every app or save on the card.
- App updates and emulators: Obtainium at 7:45, then RetroArch at 14:10. Obtainium is optional; check each imported app’s source and release before installing it.
- Nintendo DS and 3DS: Azahar at 20:41 and melonDS at 28:19, with the DS and 3DS setup guide.
- Other systems: PPSSPP, ARMSX2, Flycast, Dolphin, Cemu DS, HakuX and Eden appear in later chapters; see the HakuX guide for the original Xbox section and its limits.
- Library launchers: the video ends with DroidDeck for PC games; compare the choices in the frontend guide.
For the full outline and chapter links, open the video notes and setup-guide links.
Install one emulator and launch one game
WatermelonDS for Nintendo DS and Azahar for Nintendo 3DS are sensible first picks: both are recommended in this retail Duo review’s setup section.
Use the WatermelonDS project or Azahar release page for downloads. For a first Azahar setup, choose the stable channel; the newer alpha is meant for testing. The DS and 3DS guide explains the version and screen choices.
If an app comes as an APK, Android may ask you to let the app you downloaded it with install apps. Allow that only for the trusted source you chose, install the package, then turn the permission back off if you won’t need it again. Google Play installs skip this step.
What is Obtainium, and do you need it?
Obtainium is an optional Android app that checks selected developer release pages for app updates and can download them for Android to install. It updates apps such as emulators, and the Duo doesn’t need it. If you’re new to Android handhelds, start with Google Play when an app is available there, or install an app from the developer’s official source and update it by hand.
If a guide recommends Obtainium for a particular project, install Obtainium from its official website or official GitHub releases, then add the app using that developer’s official source URL. Obtainium only tracks the apps you add to it. Its tracking guide explains how sources and APK selection work.
If you want a prepared app list, Joey’s Obtainium guide explains his optional JSON import pack. JSON is a file of app sources and settings, not a script you need to run. Importing the pack adds entries to Obtainium; review them and install only the apps you need. You still configure each emulator separately, and the pack does not provide game files. His maintained guide explains how to refresh the list when it changes. See the Obtainium resource page for its official downloads and other setup notes.
Keep an app on the same distribution source when updating it. An app installed from F-Droid, for example, may use a different signing key from a build published on GitHub, and Android can refuse an update from a different signer. Don’t import random app lists or install an update because it showed up: check the developer, the release notes and whether the release is stable. Keep a working version if you rely on a particular emulator setup.
Open the emulator directly, grant access to the game’s folder and launch a title you know. Map the buttons if needed. For a touch-heavy game, check that touching the lower panel reaches the intended game screen. Make an ordinary in-game save, close the app and reopen that save, which tests far more of the setup than reaching a title screen.
Check both screens before changing performance settings
Set the emulator’s game-screen layout and check which picture appears on each physical panel. Try a scene that uses both screens, then close and reopen the game to see whether the layout sticks. If the panels are reversed or one is blank, use the dual-screen troubleshooting guide before changing graphics drivers.
Start with the emulator’s default renderer and system driver. If performance is poor, reduce internal resolution and repeat the same scene. Note the app version and the setting you changed so you can tell which adjustment helped.
Add your library frontend and back up the result
A frontend gives your games a shared library and launch screen. Add one once direct emulator launching works; compare the frontend options by the layout and features you want.
Keep a short setup note with the emulator version, renderer, resolution, driver choice and screen layout. Back up in-game saves using the app’s export options or documented save location. Save states are handy during play, but they can stop working between emulator builds. With a working game and a save you can reopen, you’re ready to add the next platform.
Add a visual finish when the basics work
After you can launch, play, save and reopen a game, try optional shaders and screen effects. That guide explains CRT textures, LCD grids and colour effects, with a short list of Russ’s Nova favourites to compare on your own device. Start with one game preset so you can keep your working setup.
Questions from first-time owners
Why are there no games on my Duo?
Retroid sells the Duo as an Android handheld with emulators, not games. During setup it installs a set of recommended emulators, and the games are yours to add. Start with one emulator and one game.
Where do I get games legally?
Copy cartridges and discs you own with a dumping tool, buy re-releases sold as files, or try homebrew made for old consoles. The rules differ by country. We don't link download sites.
What does the Duo start up into?
Android 16, from its built-in 128 GB of storage (Retroid's spec page). After setup it asks whether you want the standard Android home screen or the Retroid Launcher. A microSD card holds games and other files; the system never runs from it.
Do I need a Google account?
Only for the Play Store. Many emulators also publish their apps on their own sites or GitHub, and Obtainium can keep those updated.
What is a BIOS file, and do I need one?
Some consoles need their own system software before an emulator can start a game. PlayStation, PS2 and Sega CD are common examples; Nintendo handhelds mostly are not. Libretro's BIOS guide lists which need one. Dump it from a console you own.
Should games go on the built-in storage or a microSD card?
Either works. Keep apps and saves on the built-in storage and put large game files on a card if you run short. When Android asks how to use a new card, choose portable storage so it still reads in a computer. The microSD size planner estimates the card size for your library.
How do I copy games over from a computer?
Plug the Duo in with a USB-C cable and choose file transfer on the Duo, or put the microSD card in a card reader. Windows opens the Duo like a drive. A Mac needs an app such as OpenMTP, since macOS can't browse Android storage on its own.
Why does a game run slowly?
Lower the emulator's resolution scale first, then turn off extra filters. For 3D systems, a different graphics driver can help. The game notes list settings other owners and reviewers used.
Apps in this guide
Latest releases. A video may have used an older version.
Sources
- Joey’s Retro Handhelds: single- and dual-screen Android setup guide
- Retroid Pocket Duo specifications
- Pocket Duo storage and TF card slot specification graphic
- Android storage overview
- Android adoptable storage behavior
- ROCKNIX Android removal warning for supported devices
- WatermelonDS project documentation
- Azahar stable release
- Obtainium official site and installation sources
- Obtainium app tracking and source behavior
- Obtainium official releases
- Joey’s Obtainium import guide
- Joey’s maintained Obtainium pack
- Duo emulator choices in a retail-unit review
- Cloud Gaming France: full Pocket Duo setup guide (French)

Related game notes
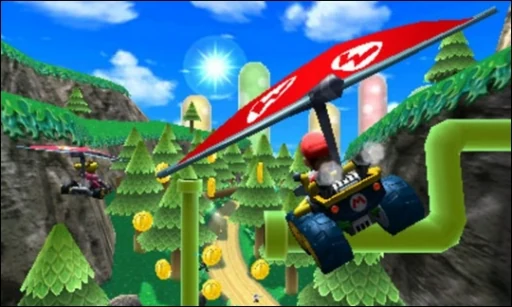
 3DSMario Kart 7Regular Duo reviews and an earlier Duo Lite test give different results, so check the hardware, emulator and driver on each short clip below.Pocket Duo and Duo Lite
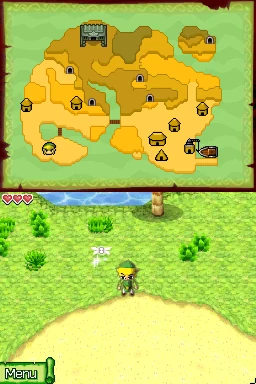 DSThe Legend of Zelda: Phantom HourglassThe Legend of Zelda: Phantom Hourglass runs at reported full speed with SeedlessDS high-resolution rendering on Lite. The reviewer reports substantial fast-forward headroom early on; not every touch or lid-close puzzle was tried.Pocket Duo and Duo Lite
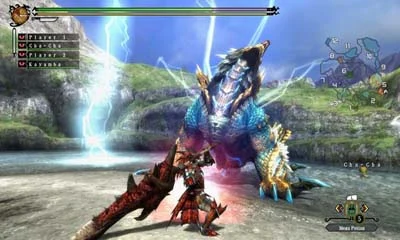 3DSMonster Hunter 4GOne reviewer found the game stuttered at 4× after reusing another game’s profile, then improved at 3×. The emulator and driver are not named.Pocket Duo
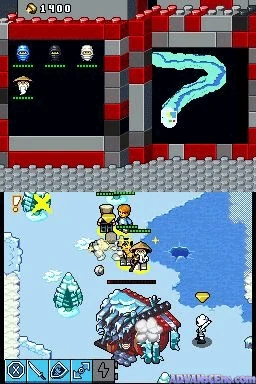 DSLEGO Battles: NinjagoIn LEGO Battles: Ninjago, the reviewer reports the SeedlessDS LCD shader appearing on only the top screen of Lite, and later disables it. The build is not shown, so newer versions may differ.Pocket Duo Lite
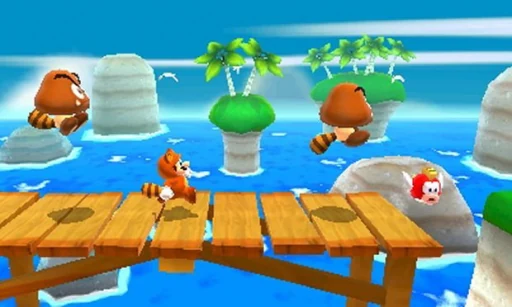 3DSSuper Mario 3D LandReviewers report smooth play around 3×, and a written review saw drops to around 45 fps on the stock driver. 4× worked in the areas shown but could stutter in one video.Pocket Duo
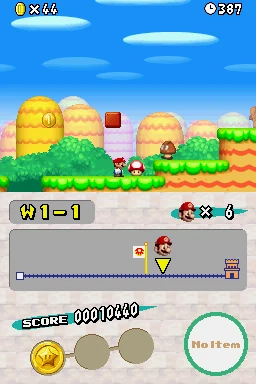 DSNew Super Mario Bros. (DS)New Super Mario Bros. shows intermittent scrolling stutter in the reviewer’s DraStic rev i18n test on Lite even while the speed counter says 100%. The build is not shown and the cause is unresolved.Pocket Duo Lite
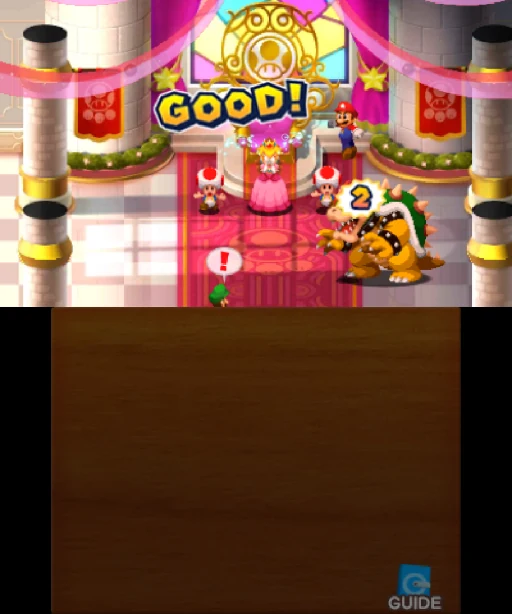 3DSMario & Luigi: Superstar Saga + Bowser’s MinionsOn a Duo Lite running the GammaOS Nano 1.5 beta, the game hard-locked after leaving fast-forward. The reviewer says the issue is still being worked on.Pocket Duo Lite
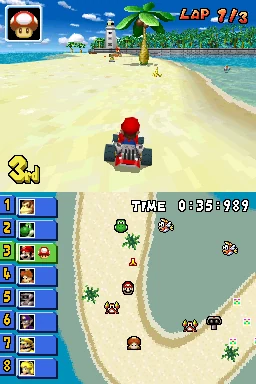 DSMario Kart DSMario Kart DS exposes a hold-button problem in the Lite SeedlessDS test: drifting and holding items behave like repeated presses. A controller test looks normal to the reviewer, and no fix for the emulator or button mapping is found.Pocket Duo Lite
Show 29 more
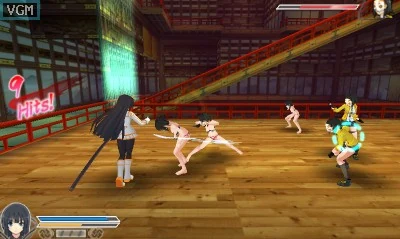 3DSSenran Kagura 2: Deep CrimsonOn a Duo Lite running the GammaOS Nano 1.5 beta, 2× shows some flickering. Controls then appear stuck after a Circle Pad Pro option is changed, and the reviewer is unsure whether the emulator crashed.Pocket Duo Lite
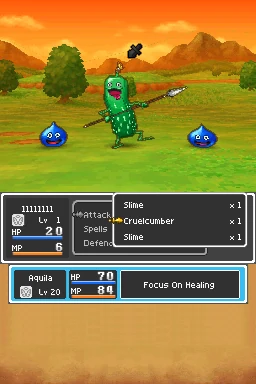 DSDragon Quest IX: Sentinels of the Starry SkiesDragon Quest IX: Sentinels of the Starry Skies gets a positive verdict in a short test with SeedlessDS high-resolution rendering on Lite. No frame rate is given and only a short stretch was played.Pocket Duo Lite
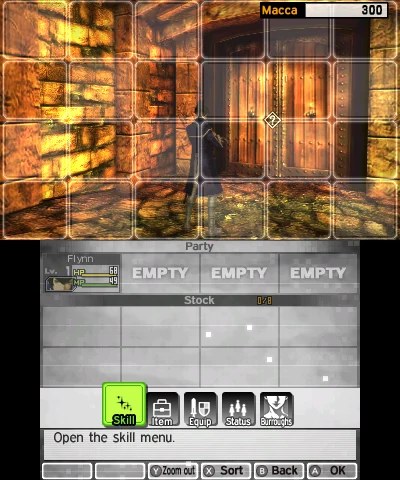 3DSShin Megami Tensei IVOn a Duo Lite running the GammaOS Nano 1.5 beta, the reviewer reports good speed at 2× with fast-forward headroom, though much of the short stretch shown is opening dialogue rather than combat.Pocket Duo Lite
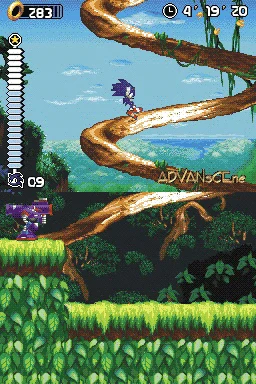 DSSonic RushIn Sonic Rush on Lite’s GammaOS preview, the reviewer reports smooth motion and closely synchronised screens by eye, with fast-forward headroom.Pocket Duo Lite
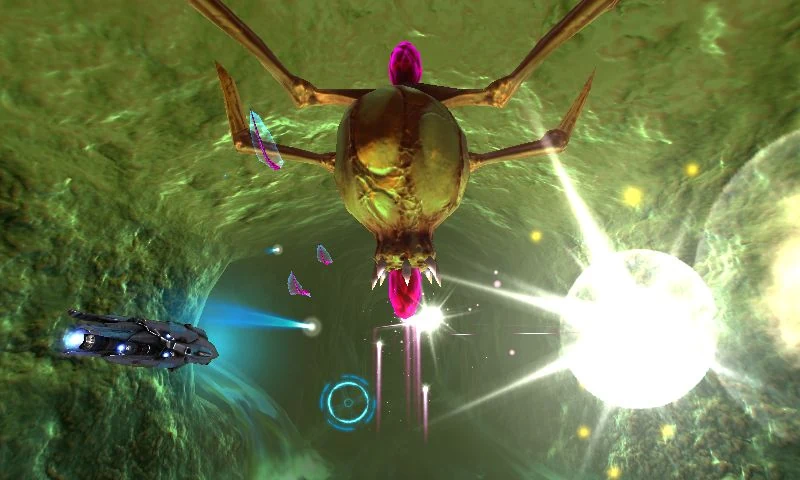 3DSNano Assault EXOn a Duo Lite running the GammaOS Nano 1.5 beta, the reviewer reports 60 fps at the default 2×, with a brief rendering disturbance that clears. Only early gameplay was shown.Pocket Duo Lite
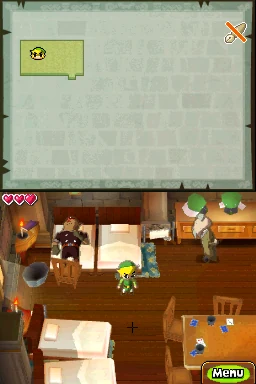 DSThe Legend of Zelda: Spirit TracksThe Legend of Zelda: Spirit Tracks touch controls are described as substantially better than stock on Lite’s GammaOS preview, but the reviewer still notices some delay. They call the short rock-picking and throwing stretch playable.Pocket Duo Lite
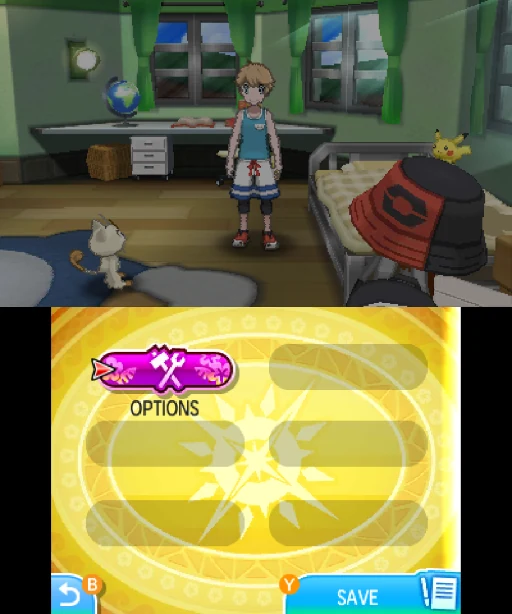 3DSPokémon Ultra SunThe regular Duo test reports a hardware-shader tradeoff at 3×: leaving it off avoids outlined Pokémon but limits fast-forward. An earlier Duo Lite test on a GammaOS beta used 2× for more headroom.Pocket Duo and Duo Lite
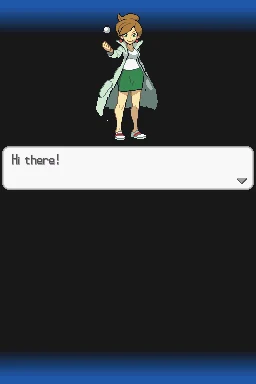 DSPokémon Black Version 2Pokémon Black Version 2 has a positive boot and title sequence on Lite’s GammaOS preview, including fast-forward headroom. Demanding battles and later areas were not shown.Pocket Duo Lite
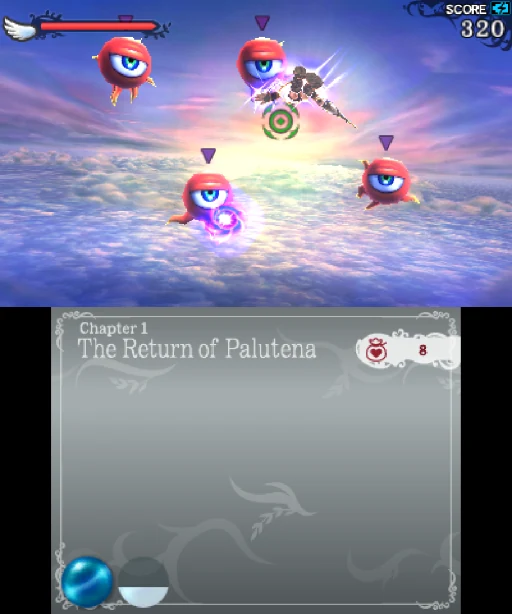 3DSKid Icarus: UprisingOn a Duo Lite running the GammaOS Nano 1.5 beta, the reviewer calls it playable but reports slowdown later in the sequence. A stand helps with the original touch controls; no control mod is installed.Pocket Duo Lite
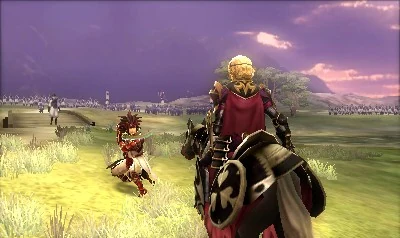 3DSFire Emblem Fates: BirthrightOn a Duo Lite running the GammaOS Nano 1.5 beta at 2×, repeated black flickering is distracting enough that the reviewer questions the experience, and fast-forward headroom does not fix it.Pocket Duo Lite
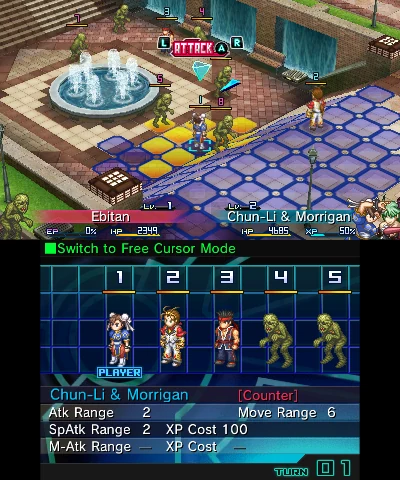 3DSProject X ZoneOn a Duo Lite running the GammaOS Nano 1.5 beta, the one short battle shown runs well, without the flickering seen in the earlier Fire Emblem test.Pocket Duo Lite
 3DSAce Combat: Assault Horizon LegacyOn a Duo Lite running the GammaOS Nano 1.5 beta, the reviewer reports slowdowns in the flight footage and suggests trying 1×, which is not tested.Pocket Duo Lite
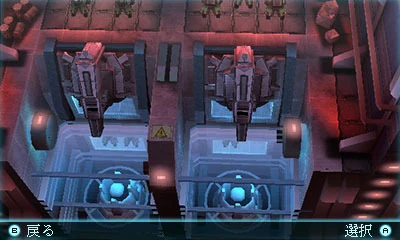 3DSTom Clancy’s Ghost Recon: Shadow WarsOn a Duo Lite running the GammaOS Nano 1.5 beta, the footage shows persistent rendering corruption even though the reviewer says speed looks fine, and they question whether it is playable.Pocket Duo Lite
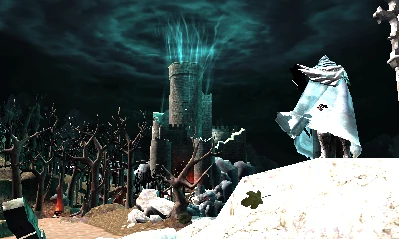 3DSCastlevania: Lords of Shadow – Mirror of FateOn a Duo Lite running the GammaOS Nano 1.5 beta at a confirmed 1×, the reviewer describes the opening as only partly playable and still demanding.Pocket Duo Lite
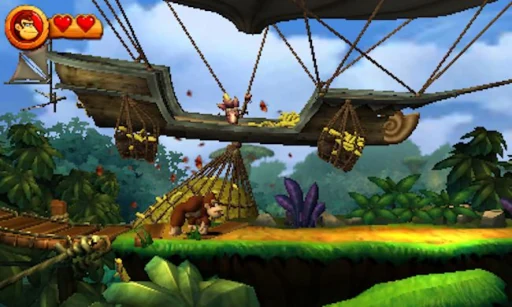 3DSDonkey Kong Country Returns 3DA regular Duo test reports near-full-speed play at 3× after enabling hardware shaders. An earlier Duo Lite test on a GammaOS beta reports acceptable gameplay at 2×, with slower menus or scenes. Both cover a short stretch of play.Pocket Duo and Duo Lite
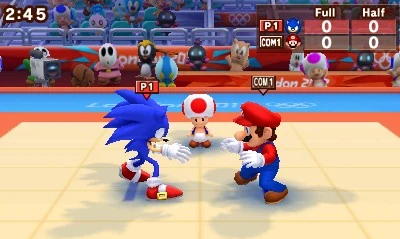 3DSMario & Sonic at the London 2012 Olympic GamesOn a Duo Lite running the GammaOS Nano 1.5 beta at 2×, the reviewer plays brief running and judo events. No frame rate or overall verdict is given.Pocket Duo Lite
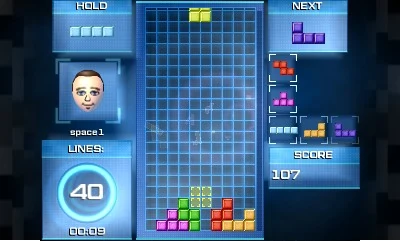 3DSTetris UltimateOn a Duo Lite running the GammaOS Nano 1.5 beta, the reviewer plays a short session and praises the D-pad for repeated inputs. No frame rate or latency figures are given.Pocket Duo Lite
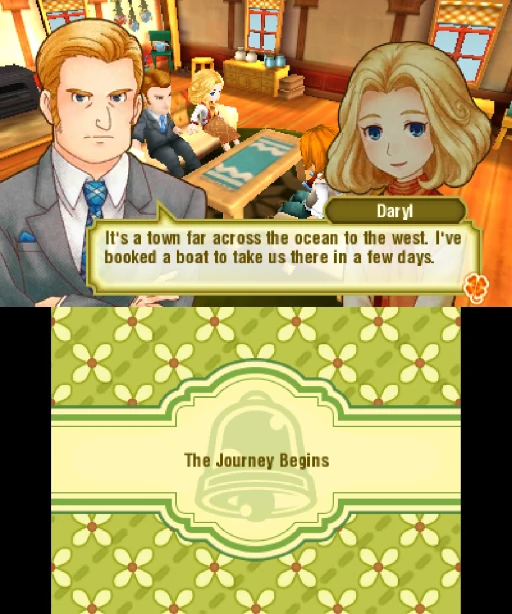 3DSStory of Seasons: Trio of TownsOn a Duo Lite running the GammaOS Nano 1.5 beta, the reviewer reports good speed but sees the lower-screen interface disappear around fast-forward changes, then return. The cause is unclear.Pocket Duo Lite
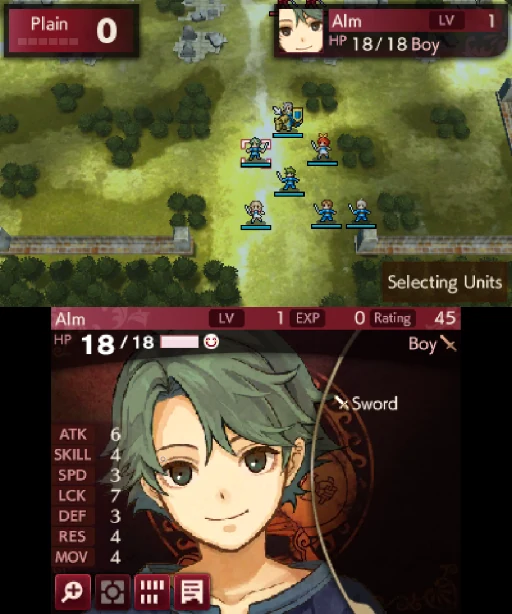 3DSFire Emblem Echoes: Shadows of ValentiaOn a Duo Lite running the GammaOS Nano 1.5 beta, a very brief test shows flickering similar to the earlier Fire Emblem test. It is too short to judge the whole game.Pocket Duo Lite
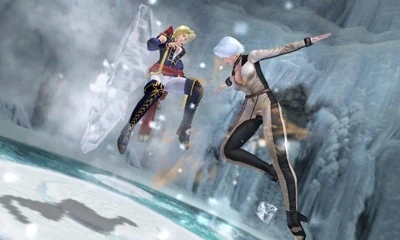 3DSDead or Alive: DimensionsOn a Duo Lite running the GammaOS Nano 1.5 beta, the reviewer plays several short fights and reports a good result. The resolution is not stated.Pocket Duo Lite
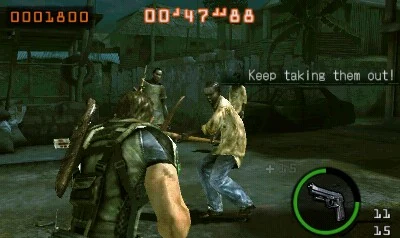 3DSResident Evil: The Mercenaries 3DResident Evil: The Mercenaries 3D remains a poor experience in this Lite test from before GammaOS. The reviewer first misnames the driver and corrects it, tries an unnamed Turnip build, then selects the system driver; the final test still struggles. The Azahar variant, build and resolution are unknown.Pocket Duo Lite
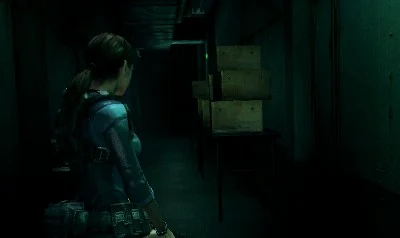 3DSResident Evil: Revelations (3DS)Resident Evil: Revelations hard-crashes during this earlier Lite 3DS stream. The reviewer also says its fps counter is not working, so no reliable frame rate is available.Pocket Duo Lite
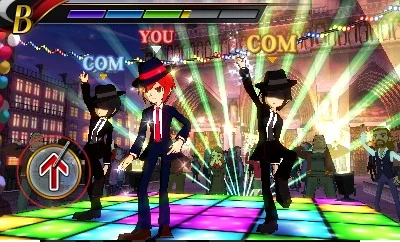 3DSRhythm Thief & the Emperor’s TreasureRhythm Thief & the Emperor’s Treasure runs at a reported roughly 25 fps on Lite with the system GPU driver. The reviewer cannot play the rhythm section reliably because timing is off; no working setup is shown.Pocket Duo Lite
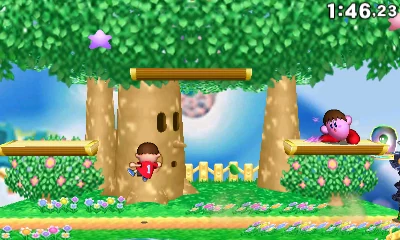 3DSSuper Smash Bros. for Nintendo 3DSAn earlier Duo Lite test reports unstable performance, with only occasional bursts of 60 fps. A later regular Duo video shows a short 3× Azahar clip without a frame rate. Emulator and driver builds are unknown in both.Pocket Duo and Duo Lite
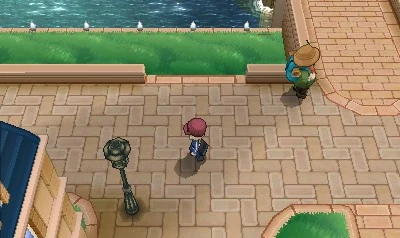 3DSPokémon XPokémon X gets a positive verdict in a short test on Lite’s GammaOS preview, with shader-compilation stutter and occasional graphical issues reported. The Azahar Nano menu shows 2× with dynamic resolution On, so it was not a fixed 2× throughout.Pocket Duo Lite
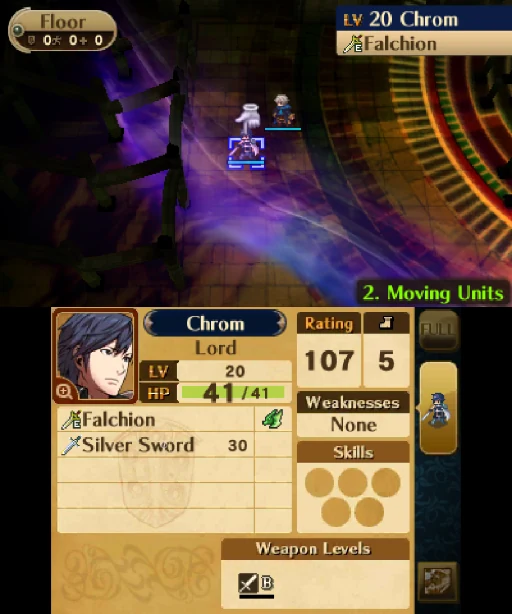 3DSFire Emblem AwakeningFire Emblem Awakening’s opening and tutorial battle get a positive verdict on Lite’s GammaOS preview, with some dips. The reviewer had already run the game once to compile shaders, so a first launch may run worse.Pocket Duo Lite
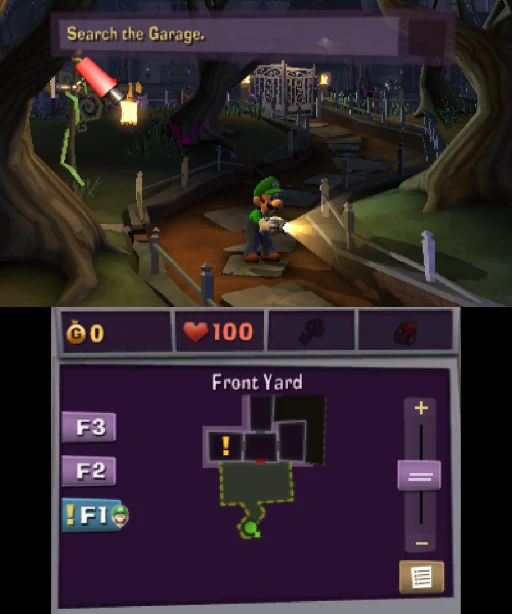 3DSLuigi’s Mansion: Dark MoonLuigi’s Mansion: Dark Moon remains a poor result in the Lite GammaOS preview. The reviewer lowers resolution to Native (1×) and disables dynamic resolution, then reports little improvement, and it is still not playable.Pocket Duo Lite
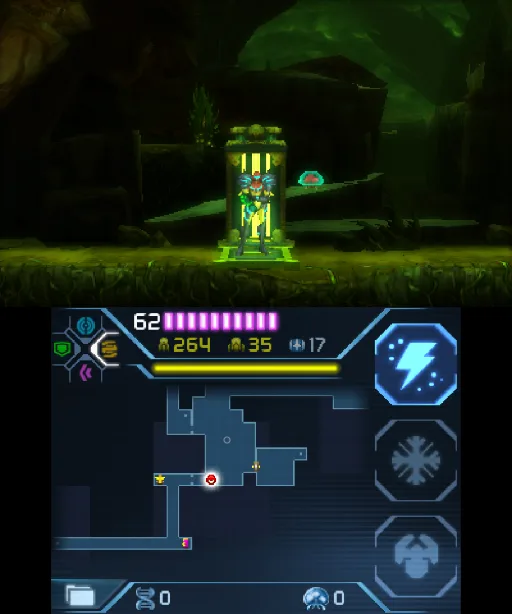 3DSMetroid: Samus ReturnsAt 4× in Azahar, one Duo review held around 30 to 31 fps on the stock Qualcomm driver and 27 to 28 fps with Mr. Purple’s T30, so the stock driver did slightly better here.Pocket Duo
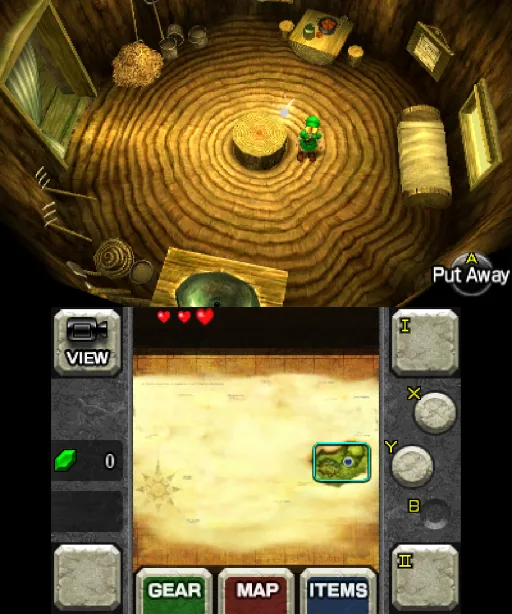 3DSThe Legend of Zelda: Ocarina of Time 3DOne Duo review found it looks and performs well at 4× in Azahar and named it a standout game to try on the Duo.Pocket Duo
Card screenshots come from Libretro, not from a Duo.
All game notesReviews and hands-on footage
 🔥 Probé la Retroid Pocket Duo: ¿Vale la pena para 3DS, Switch y más?Esto es Retro · First impressions
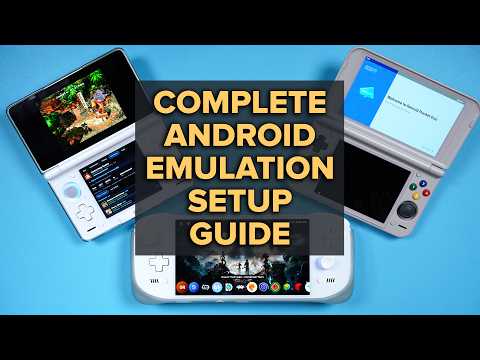 Dual & Single Screen Android Emulation Setup Guide!Joey's Retro Handhelds · Setup guide
 The new Dual Screen to get: Retroid Pocket DuoWULFF DEN · Review
 Retroid Pocket Duo : configurer ses émulateurs (Guide complet)Cloud Gaming France · Setup tip
Show 12 more
 BIG Driver Updates for the Retroid Pocket DuoRetro Game Corps · Setup tip
 千元双屏掌机RP Duo,上手体验到底如何?卡纸biubiu · First impressions
 The Dual-Screen Handheld We’ve Been Waiting For?OJAYSAN · First impressions
 Retroid Pocket Duo : premières impressions après déballageCloud Gaming France · First impressions
 Retroid Pocket Duo Lite, 3DS, GammaOS Nano and 17 games testforthenext · Hands-on livestream
 Duo Lite gets Fixed, Gamma hits us with ANOTHER ONEV1cariousGaming · Gameplay test
 Retroid Pocket DUO Review: Mid-game (+ Odin 3 Portal thoughts)Retro Handhelds · Review discussion
 Retroid Pocket Duo In-Depth ReviewRetro Game Corps · Review
 The Duo We Wanted // RETROID POCKET DUO REVIEWTechDweeb · Review
 Hands on With The Retroid Pocket Duo; A Little More Magic This TimeGardiner Bryant · Review
 Retroid Pocket Duo Lite, 3DS, Resident Evil: The Mercenaries 3D and your games testedforthenext · Hands-on livestream
 Retroid Pocket Duo Lite, NDS, The Legend of Zelda: Phantom Hourglass and 27 games testforthenext · Hands-on livestream